
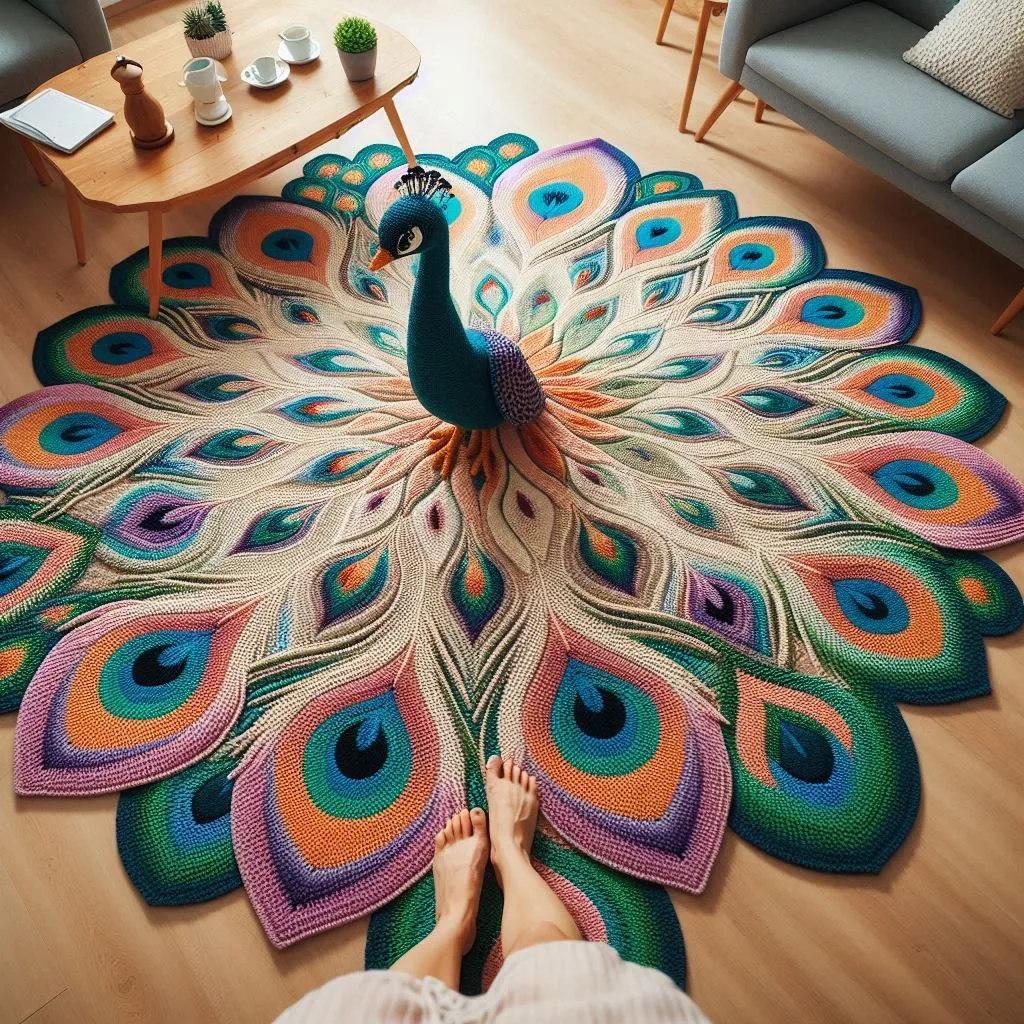
Are you looking for a unique and eye-catching piece to enhance your home decor? Look no further than a peacock-shaped crochet rug. This vibrant and intricate design not only adds a splash of color to any room but also showcases your crafty skills. In this blog post, we’ll explore the beauty of peacock-shaped crochet rugs, their benefits, and provide you with a step-by-step guide to creating your own. Let’s dive into the world of crochet and peacock elegance!
Why Choose a Peacock-Shaped Crochet Rug?
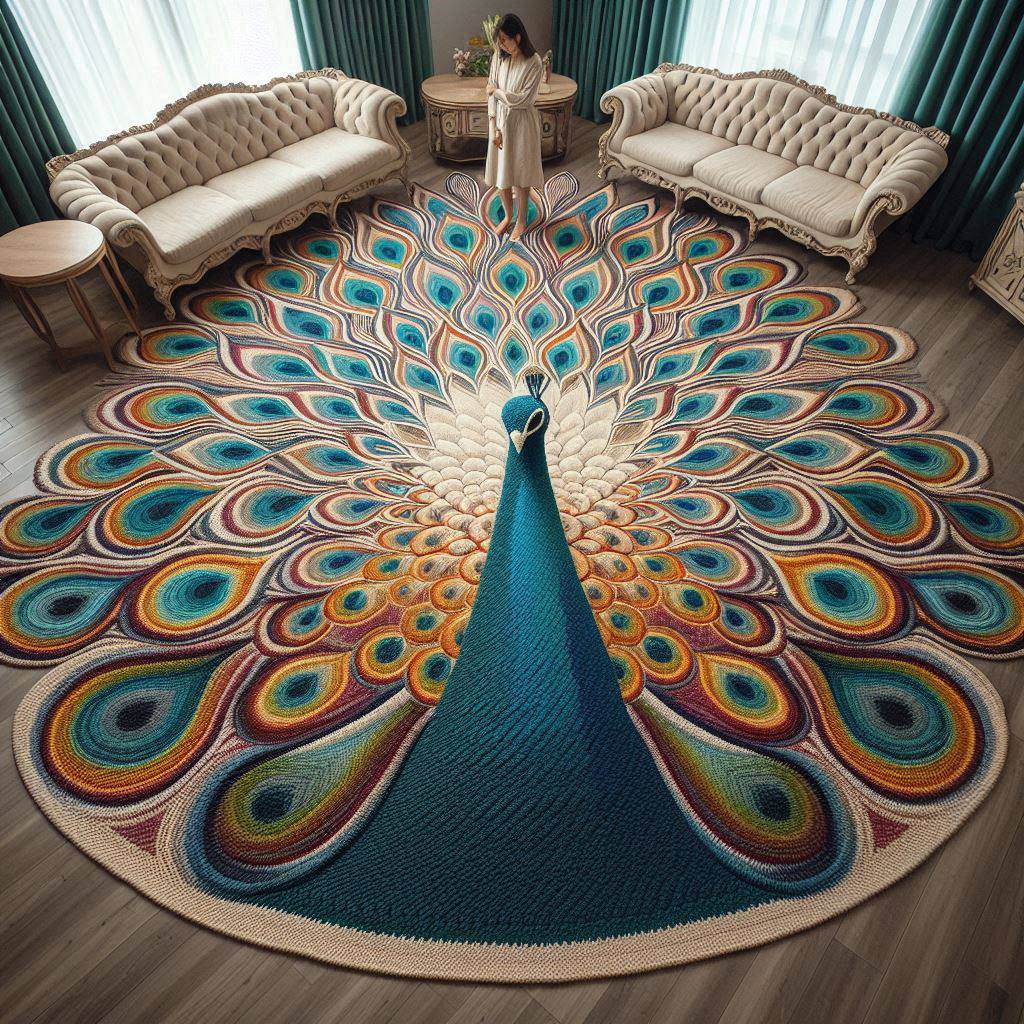
Peacocks symbolize beauty, grace, and luxury. Incorporating a peacock-shaped rug into your home decor can bring these qualities into your living space. Here are a few reasons why a peacock-shaped crochet rug is an excellent addition to your home:
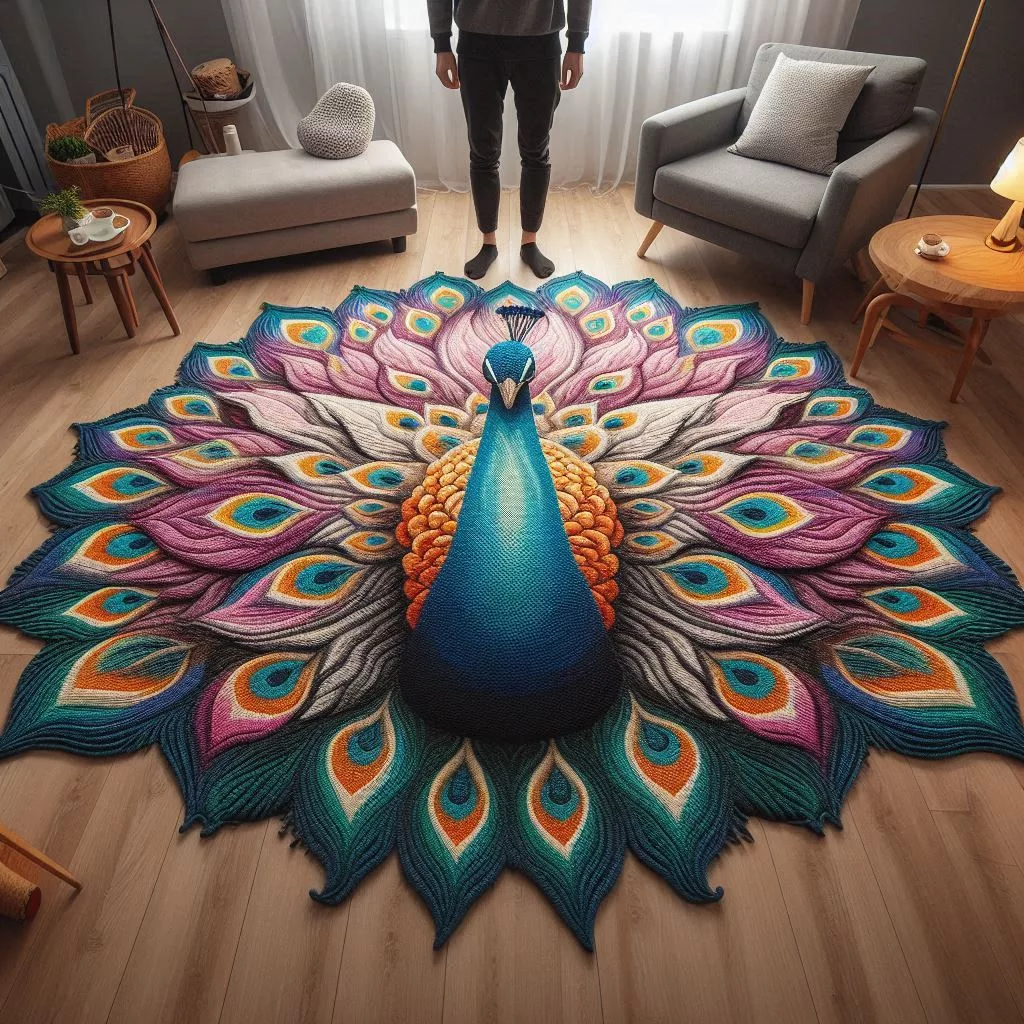
- Unique Aesthetic Appeal: The intricate design and vibrant colors of a peacock-shaped rug make it a statement piece.
- Personal Touch: Creating your own rug allows you to add a personal touch to your home decor, reflecting your creativity and style.
- Versatility: These rugs can be used in various spaces, such as living rooms, bedrooms, or even as a centerpiece in a cozy reading nook.
Materials Needed for a Peacock-Shaped Crochet Rug
Before you begin, gather the necessary materials:
- Yarn: Choose vibrant colors like royal blue, turquoise, green, and gold to mimic the peacock’s plumage.
- Crochet Hook: A size that matches your yarn choice.
- Scissors: For cutting the yarn.
- Tapestry Needle: For weaving in ends.
- Pattern: Either create your own or find a detailed peacock-shaped crochet pattern online.
Step-by-Step Guide to Crocheting a Peacock-Shaped Rug
Step 1: Choose Your Pattern
Select a pattern that matches your skill level. Beginners might want to start with a simpler design, while experienced crocheters can tackle more intricate patterns.
Step 2: Prepare Your Yarn
Organize your yarn by color to make the process smoother. Ensure you have enough yarn for the entire project.
Step 3: Start with the Center
Begin crocheting from the center of the peacock’s body. This usually involves creating a magic circle and working your way outwards.
Step 4: Create the Feathers
Crocheting the feathers is the most intricate part. Each feather should be crafted with attention to detail, incorporating multiple colors to achieve the desired effect.
Step 5: Assemble the Rug
Once all the feathers and body parts are crocheted, assemble them according to your pattern. Use the tapestry needle to sew pieces together securely.
Step 6: Finishing Touches
Weave in any loose ends and block your rug to ensure it lays flat and the stitches are even.
Check out the very cool Peacock Rug: Here
Tips for Crocheting a Perfect Peacock-Shaped Rug
- Take Your Time: Rushing can lead to mistakes. Enjoy the process and take your time with each stitch.
- Follow the Pattern: Especially for beginners, sticking to the pattern is crucial for achieving the desired look.
- Experiment with Colors: Don’t be afraid to mix and match colors to create a unique peacock rug that stands out.
Where to Use Your Peacock-Shaped Crochet Rug
A peacock-shaped crochet rug can be used in various settings:
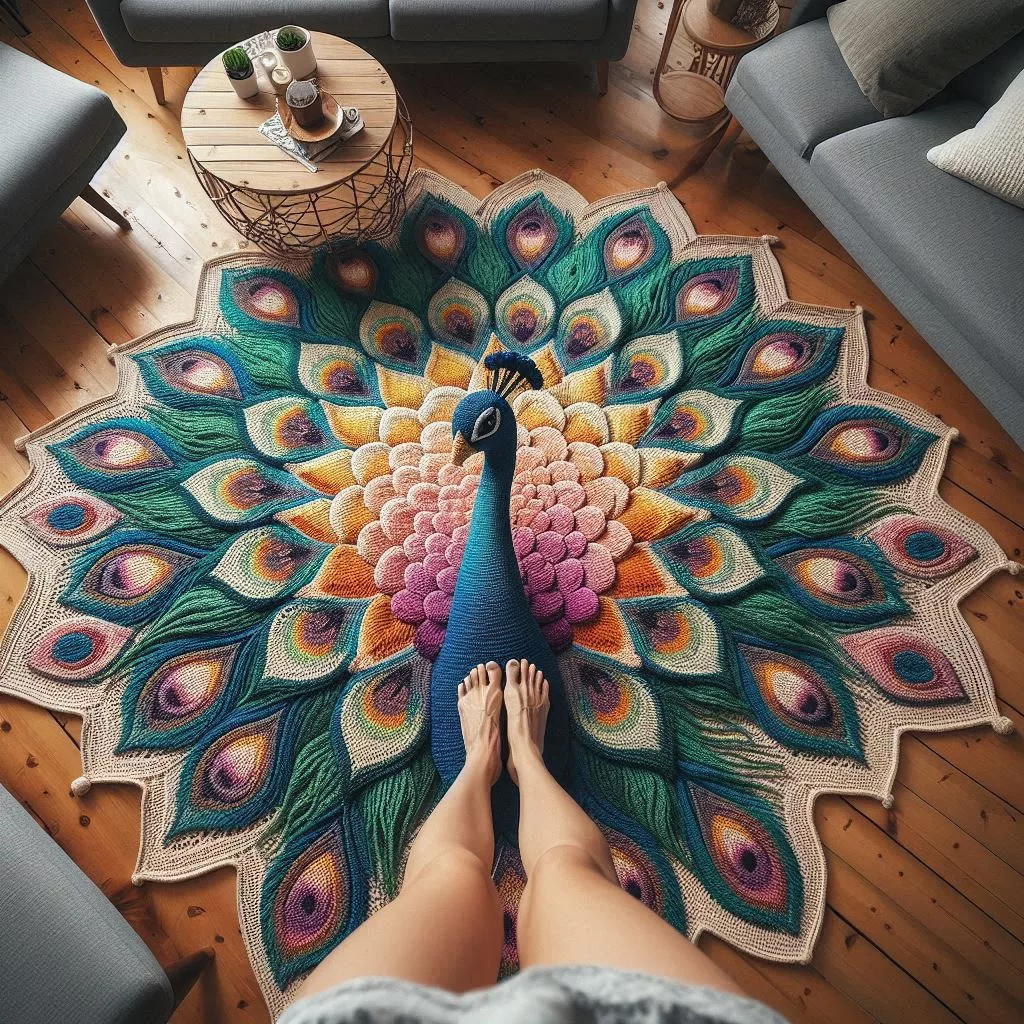
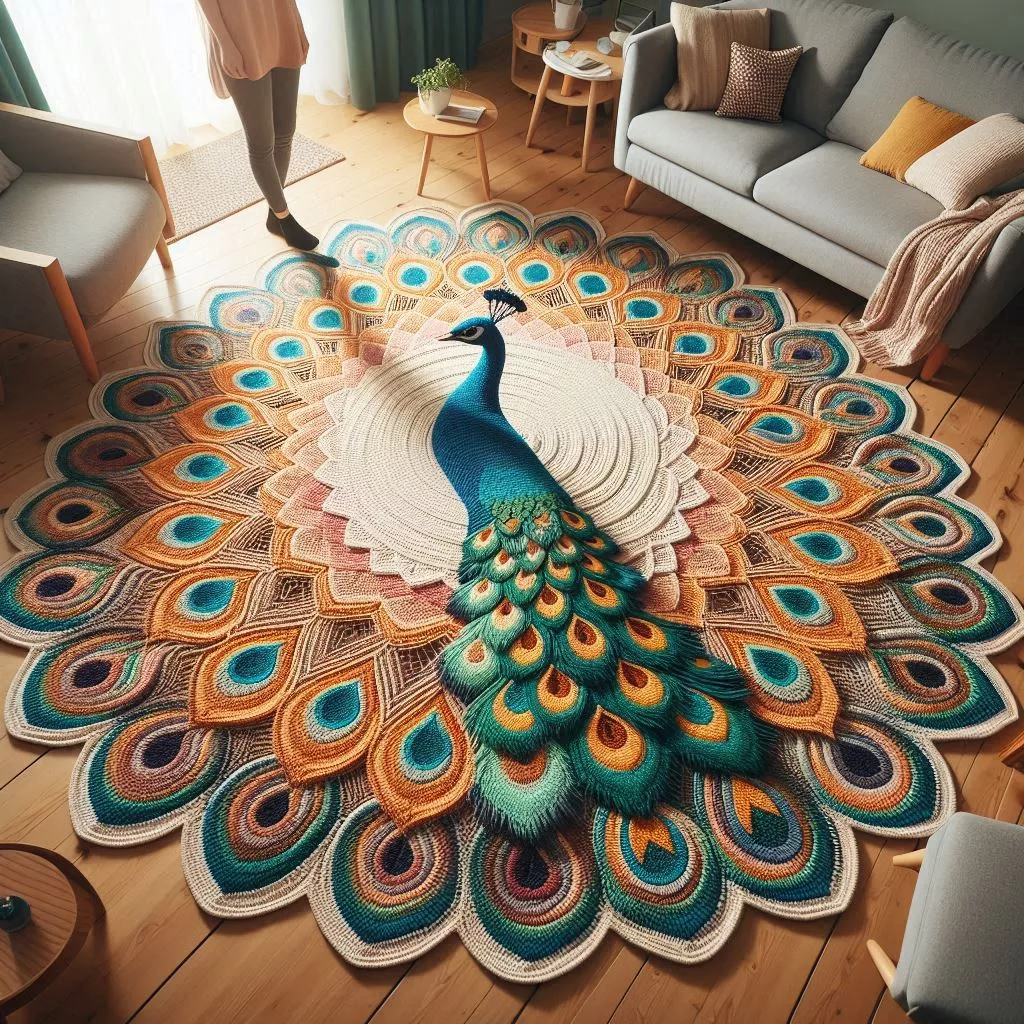
- Living Room: Place it in the center to create a focal point.
- Bedroom: Use it as a bedside rug to add a touch of elegance.
- Reading Nook: Enhance your cozy corner with this beautiful piece.
The History and Significance of Peacock Designs
The use of peacock designs in art and decor dates back centuries, transcending cultures and continents. Peacocks have long been symbols of beauty, immortality, and pride in various traditions. In Hinduism, the peacock is associated with Saraswati, the goddess of wisdom and arts. In Greek mythology, the bird is linked to Hera, the queen of the gods. The vivid plumage and graceful demeanor of peacocks make them an enduring inspiration for artists and crafters.
By incorporating a peacock-shaped crochet rug into your home, you’re not just adding a decorative piece; you’re integrating a rich cultural symbol that has fascinated humans for ages.
Advanced Techniques for Experienced Crocheters
For those who have mastered the basics of crochet and are ready to take on more complex projects, here are some advanced techniques to consider for your peacock-shaped crochet rug:
- Overlay Crochet: This technique adds depth and texture by working over previous stitches. It’s perfect for highlighting the intricate patterns of peacock feathers.
- Color Pooling: This method involves using variegated yarn to create specific color patterns, mimicking the natural gradient found in peacock feathers.
- 3D Elements: Incorporate three-dimensional features such as raised feathers or textured stitches to bring your peacock design to life.
Customizing Your Peacock-Shaped Crochet Rug
Personalization is key when it comes to home decor. Here are some ideas to customize your peacock-shaped crochet rug to suit your personal style and home aesthetic:
- Color Schemes: While traditional peacock colors are stunning, don’t be afraid to experiment with different hues that match your room’s color palette.
- Size Adjustments: Modify the pattern to create a rug that fits perfectly in your desired space, whether it’s a large centerpiece or a small accent rug.
- Materials: Use different types of yarn such as cotton for a more durable rug or acrylic for vibrant colors and softness.
Caring for Your Peacock-Shaped Crochet Rug
Proper care is essential to maintain the beauty and longevity of your crochet rug. Here are some tips to keep your peacock-shaped crochet rug looking its best:
- Regular Cleaning: Vacuum the rug regularly to remove dust and dirt. For deeper cleaning, hand wash with mild detergent and lay flat to dry.
- Avoid Direct Sunlight: Prolonged exposure to direct sunlight can fade the vibrant colors of your rug. Place it in a shaded area to preserve its hues.
- Storage: If you need to store the rug, roll it up instead of folding to prevent creases. Store in a cool, dry place to avoid moisture damage.
Sharing Your Masterpiece
Once you’ve completed your peacock-shaped crochet rug, share your creation with the world! Here are a few ways to showcase your work:
- Social Media: Post pictures and videos on platforms like Instagram, Pinterest, and Facebook. Use hashtags like #PeacockCrochetRug and #DIYHomeDecor to connect with other crochet enthusiasts.
- Craft Fairs and Markets: If you enjoy making crochet rugs, consider selling them at local craft fairs or markets. It’s a great way to share your art and earn some extra income.
- Gifts: Handmade rugs make thoughtful and personalized gifts for friends and family. Imagine the joy of receiving a beautifully crafted peacock rug!
Inspirational Ideas for Your Peacock-Shaped Crochet Rug
While a traditional peacock-shaped crochet rug is stunning, there are numerous ways to customize and elevate your creation. Here are some inspirational ideas to spark your creativity:
Incorporating Different Textures
- Bouclé Yarn: Use bouclé yarn for the feathers to add a unique, curly texture that mimics the lush plumage of a peacock.
- Metallic Yarn: Integrate metallic yarns to give your rug a shimmering effect, adding a touch of glamour.
- Mixed Materials: Combine different types of yarn like cotton, wool, and silk to create varying textures and visual interest.
Embellishments
- Beads and Sequins: Add beads or sequins to the eyes of the feathers for extra sparkle and dimension.
- Embroidery: Use embroidery techniques to enhance the details of the feathers and body, creating a more intricate and refined look.
Patterns and Variations
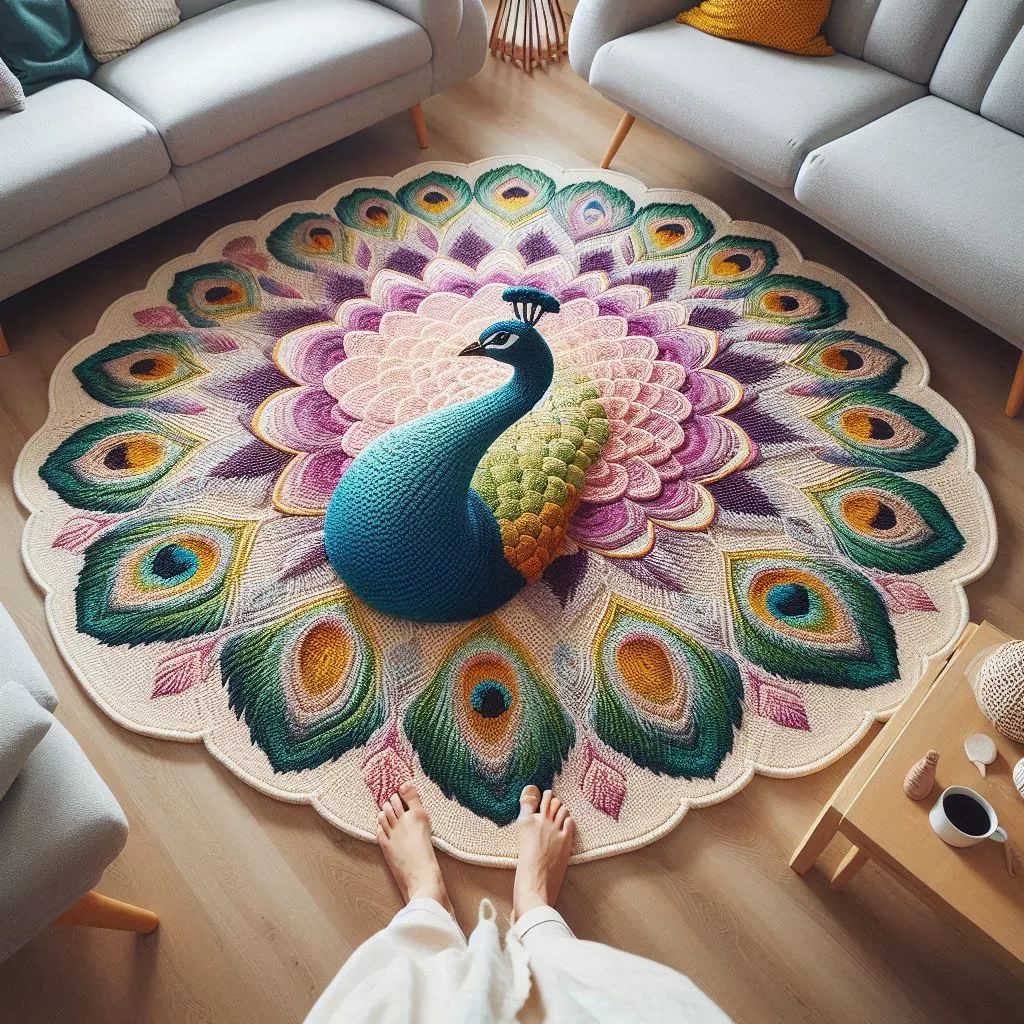
- Mandala Design: Integrate mandala patterns into the body of the peacock for a spiritual and meditative touch.
- Abstract Shapes: Experiment with abstract interpretations of peacock feathers, blending geometric shapes and colors.
- Gradient Effect: Create a gradient effect in the feathers by using ombre yarns that transition smoothly from one color to another.
Sustainable Crochet: Eco-Friendly Practices
Incorporating eco-friendly practices into your crochet projects not only benefits the environment but also adds a meaningful touch to your creations. Here’s how you can make your peacock-shaped crochet rug more sustainable:
- Recycled Yarn: Use yarn made from recycled materials, such as plastic bottles or reclaimed fibers.
- Organic Yarn: Opt for organic cotton or wool, which are grown without harmful chemicals.
- Upcycling: Repurpose old garments or leftover yarn from previous projects to create your rug, reducing waste.
Displaying Your Peacock-Shaped Crochet Rug
Once your rug is complete, consider various ways to display it to maximize its impact on your home decor:
Floor Placement
- Entryway: Place the rug in your entryway to create an inviting and colorful first impression.
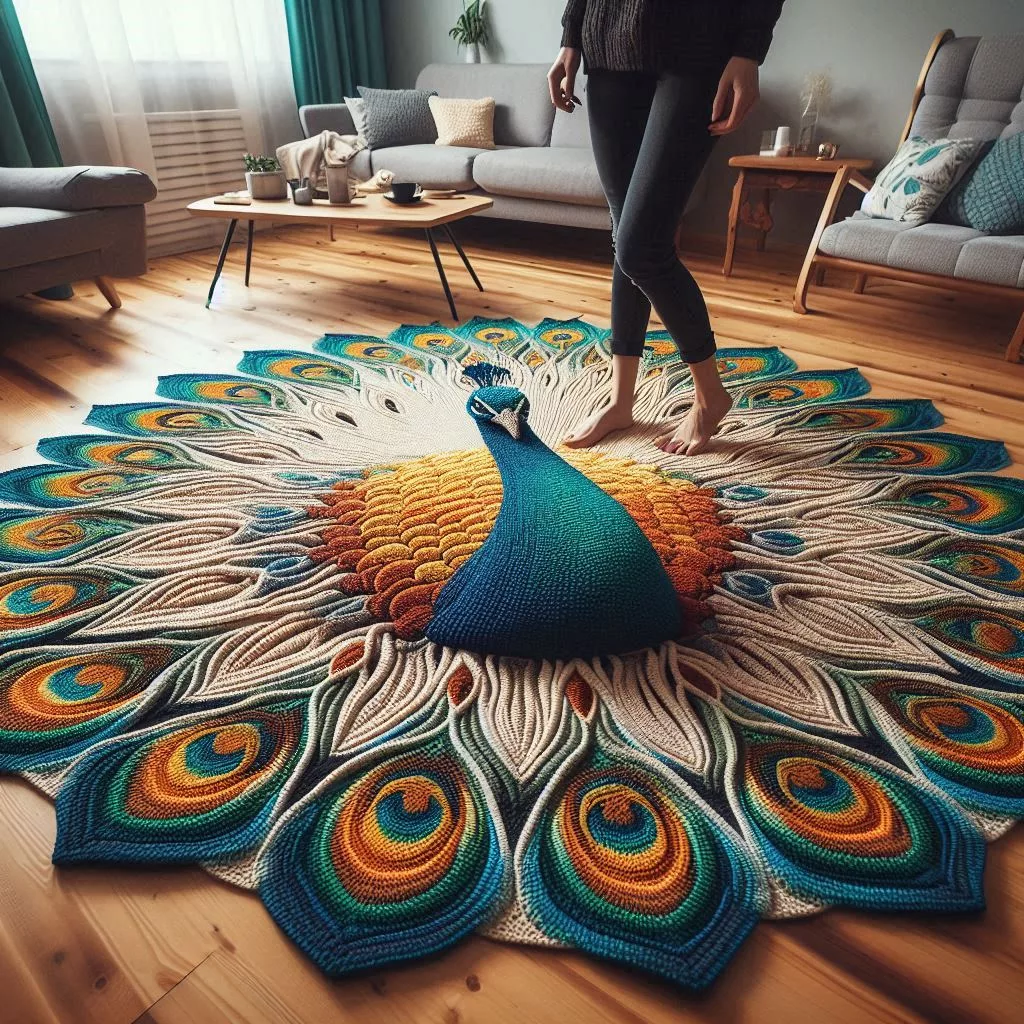
- Living Room: Position it under a coffee table or in front of a sofa to anchor the seating area.
- Bedroom: Use it as a bedside rug to add a cozy and artistic touch to your sleeping space.
Wall Art
- Tapestry: Hang your peacock-shaped rug on the wall as a tapestry. This not only showcases your handiwork but also adds an artistic element to your decor.
- Framed Art: Frame smaller sections of the rug or individual feathers to create unique wall art pieces.
Outdoor Use
- Patio Decor: Use your crochet rug to add a splash of color to your outdoor seating area. Ensure the yarn is weather-resistant to prevent damage from the elements.
Check out the very cool Peacock Rug: Here
The Benefits of Crocheting
Engaging in crochet projects like a peacock-shaped rug offers numerous benefits beyond creating beautiful decor:
- Stress Relief: The repetitive motions of crocheting can be meditative and relaxing, reducing stress and anxiety.
- Improved Focus: Following patterns and counting stitches enhances concentration and attention to detail.
- Creative Expression: Crocheting allows you to express your creativity and bring your artistic visions to life.
- Sense of Accomplishment: Completing a project provides a sense of achievement and boosts self-esteem.
Joining the Crochet Community
Being part of a community of like-minded crafters can be incredibly rewarding. Here are ways to connect with other crochet enthusiasts:
- Online Forums and Groups: Join online communities such as Ravelry, Reddit’s crochet subreddit, or Facebook groups dedicated to crochet.
- Local Workshops: Attend crochet workshops or classes in your area to learn new techniques and meet fellow crafters.
- Craft Fairs and Exhibitions: Participate in local craft fairs or exhibitions to showcase your work and network with other artists.
Detailed Step-by-Step Instructions for Crocheting a Peacock-Shaped Rug
For those ready to dive into the detailed process of creating a peacock-shaped crochet rug, here is an extended step-by-step guide to help you along the way.
Step 1: Gather Your Supplies
Before starting, ensure you have all the materials:
- Yarn: Select yarn in colors such as royal blue, emerald green, turquoise, gold, and white.
- Crochet Hook: A size that matches your yarn (usually between 4mm and 6mm).
- Scissors: For cutting the yarn.
- Tapestry Needle: For weaving in ends and sewing pieces together.
- Pattern: Use a detailed peacock-shaped crochet pattern.
Step 2: Start with the Body
Begin by crocheting the body of the peacock. Typically, this involves starting with a magic circle:
- Create the Magic Circle: Wrap the yarn around your fingers to form a loop, insert the hook into the loop, and pull up a loop.
- Chain Stitches: Chain two or three stitches to start.
- Double Crochet: Work double crochet stitches into the circle. For a fuller body, you may use 12-18 double crochets.
- Tighten the Circle: Pull the tail end to tighten the circle and close the center hole.
- Continue Rounds: Work in rounds, increasing as needed to form a flat circle. Follow the pattern for specific increases.
Step 3: Form the Neck and Head
Once the body is complete, transition to creating the neck and head:
- Neck: Continue from the body using the same or a contrasting color. Chain a few stitches to create the neck and work in rows or rounds.
- Head: For the head, reduce the number of stitches to form a smaller, rounded shape. You may use single crochet stitches for more control.
Step 4: Crochet the Feathers
The feathers are the highlight of your peacock-shaped rug. Here’s how to crochet them:
- Start with the Base: Chain the base length of the feather.
- Work Up the Feather: Use double crochet, half-double crochet, and single crochet stitches to create the feather’s shape, tapering as you go.
- Color Changes: Incorporate different colors by changing yarns to mimic the natural hues of peacock feathers. Ensure smooth transitions between colors.
- Detailing: Add details like the eye of the feather using contrasting yarns and smaller stitches.
Step 5: Assemble the Peacock
After completing the body, neck, head, and feathers, it’s time to assemble the pieces:
- Arrange the Feathers: Lay the feathers out around the body to determine placement.
- Attach Feathers: Use the tapestry needle to sew the feathers to the body securely.
- Final Touches: Weave in any loose ends and ensure all parts are firmly attached.
Step 6: Blocking the Rug
Blocking is essential to ensure your rug lays flat and the stitches are even:
- Wet Blocking: Soak the rug in cool water, gently squeeze out excess water, and lay it flat on a blocking mat.
- Pinning: Pin the rug into shape, ensuring all parts are straight and even.
- Drying: Allow the rug to dry completely before removing the pins.
Adding Personal Touches
To make your peacock-shaped crochet rug uniquely yours, consider these additional personal touches:
Custom Colors
Choose a color palette that complements your home decor. While traditional peacock colors are stunning, experimenting with pastels or monochromatic schemes can create a unique look.
Embellishments
- Beads and Sequins: Adding beads or sequins to the feathers can enhance the visual appeal of your rug.
- Embroidery: Use embroidery to outline feathers or add intricate patterns.
Functional Enhancements
- Non-Slip Backing: Add a non-slip backing to your rug to prevent it from sliding on smooth surfaces.
- Padding: For extra comfort, consider adding a layer of padding underneath the rug.
Showcasing Your Creation
Once your peacock-shaped crochet rug is complete, consider how to best display it:
Home Decor
- Living Room: Place it in a central area to draw attention.
- Bedroom: Use it as an accent piece by your bed.
- Entryway: Welcome guests with this vibrant and artistic rug.
Social Media
Share your work on social media platforms:
- Instagram: Use popular hashtags like #CrochetRug, #PeacockRug, and #DIYHomeDecor.
- Pinterest: Create a board to showcase your rug and other crochet projects.
- Facebook: Join crochet groups and share your progress and finished rug.
Conclusion: Celebrate Your Craftsmanship
Creating a peacock-shaped crochet rug is a labor of love that showcases your skill and creativity. Whether you’re making it for your own home, as a gift, or even to sell, this rug will undoubtedly be a centerpiece and conversation starter. Embrace each step of the process, from selecting colors to the final assembly, and take pride in the beautiful piece you’ve created.
Remember, the joy of crochet lies not just in the finished product, but in the journey of crafting something with your own hands. Happy crocheting!
Check out the very cool Peacock Rug: Here